Loch Ness, but under your own power. This self-guided day ride lets you pedal from Inverness to the shores of Loch Ness at your speed, with the route built around River Ness paths, the Ness Islands, and the Caledonian Canal before you roll into Dores. What I like most is the freedom: you follow the map and directions, then stop when the view asks for a pause.
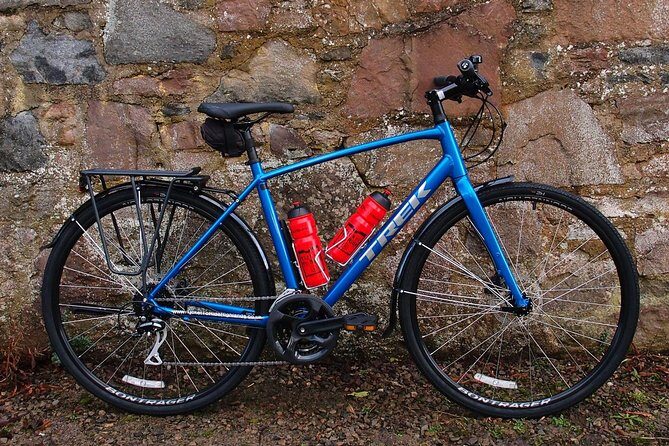
Two more things that make this a good value day: the bike setup is practical, and the start point is easy to reach. You get bike hire, plus a helmet and water bottle, and staff will brief you and get you comfortable before you set off. One thing to think about first: the ride has uphill on the way there, so if you’re new to cycling, plan on slower pacing and frequent breaks.
In This Review
- Key things to know before you pedal
- Entering the Highlands under your own schedule
- Start at Ticket To Ride in Bellfield Park
- Ness Islands: peaceful footpaths over the River Ness
- Caledonian Canal: the part for steady riders (and side-miles)
- Loch Ness arrival: Route 78 into Dores
- Dores break: food, picnic spots, and loch-side time
- Riding back to Inverness, with a towpath option
- Price and value: what you’re really paying for
- Who this ride is best for
- Navigation and weather tips that actually help
- Should you book Cycle To Loch Ness?
- FAQ
- How long does the Cycle To Loch Ness self-guided tour take?
- Is this tour guided?
- What’s included in the price?
- What’s the minimum age to join?
- What fitness level do I need?
- Where does the tour start and end?
- Does it run in bad weather?
Key things to know before you pedal
- Small-group setup: max group size is 4, so fitting and route questions are easier to handle.
- Bike comfort varies: you’ll be on a real cycling route, and a couple of riders found the bike uncomfortable for beginner levels.
- Ness Islands are scenic and calm: you cross along paths over the River Ness area for a quieter stretch.
- Canal time is your reset: the Caledonian Canal section can add adventure miles if you feel good.
- Dores is the best recovery point: you can refuel at the Dores Inn or take your packed lunch to the loch-side.
- You’ll need to use your map: navigation support is included, but a wrong turn can happen.
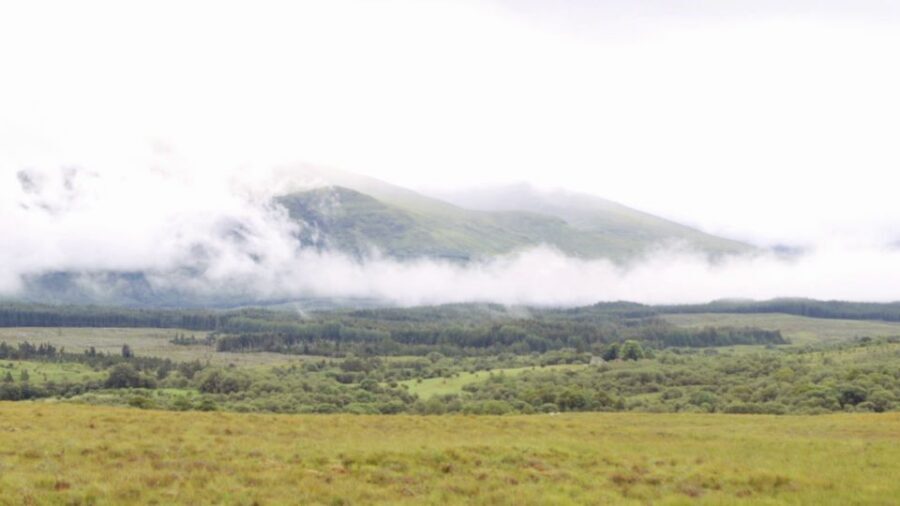
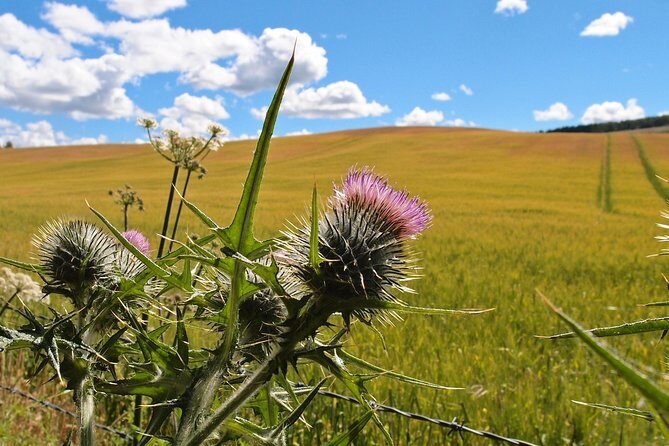
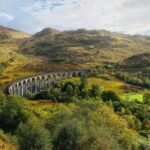
Entering the Highlands under your own schedule
This is not a “follow the guide all day” situation. It’s you, a hired bike, and a mapped route linking Inverness to Loch Ness using local cycle paths and National Cycle Network Route 78 (The Caledonia Way). That matters because the Highlands feel better when you control the tempo. One stop might be 15 minutes. Another might be a long look at the water. The route is there to guide you, not to rush you.
The biggest win here is how the route switches moods. You start in Inverness, move through calmer water-and-forest scenery near the River Ness, then shift into canal-side riding. By the time you’re approaching Loch Ness, the day feels like it’s unfolding in stages instead of being one long grind.
If you're still narrowing it down, here are other tours in Inverness we've reviewed.
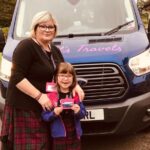
Start at Ticket To Ride in Bellfield Park
Your meeting point is Ticket To Ride The Pavilion, Bellfield Park, Inverness (IV2 4SZ). This is by the River Ness near the centre, which is handy. You’re not wrestling with complicated transfers before you even start.
The first stop is the bike hire and orientation (about 30 minutes). They’ll:
- get you comfortable on your bike,
- brief you on where to go,
- share ideas on where to eat.
They also include helmet and a water bottle. That’s not just “nice to have.” On a self-guided ride, small essentials reduce friction. You start the day already equipped, instead of hunting for basic gear in town.
Quick practical tip: ask them to show you how you’re meant to follow the route on your map before you roll away. The ride is straightforward on paper, but once you’re moving, it’s easy to miss a turn.
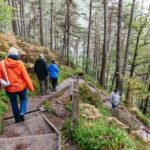
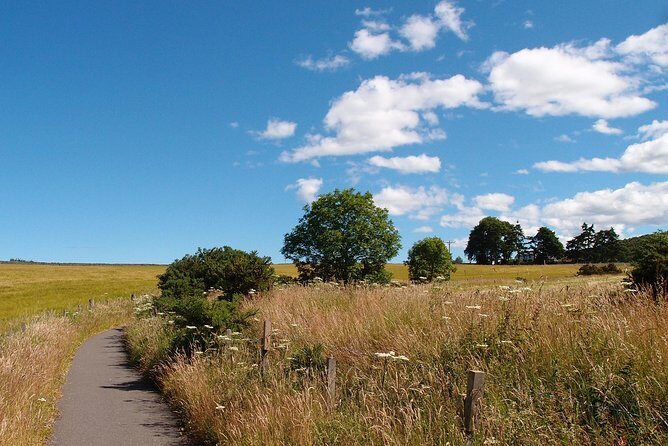
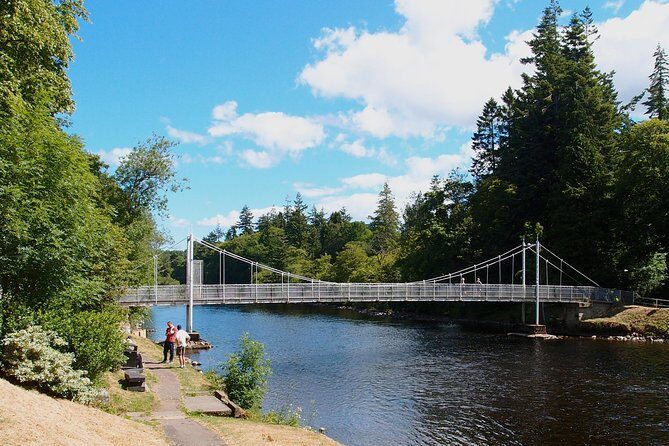
Ness Islands: peaceful footpaths over the River Ness
The next stretch takes you to the Ness Islands (around 30 minutes). This is one of those “why is this so calm?” moments. You’re following paths across the River Ness area, with a forested feel and a quieter rhythm than the roads.
Why it works: it breaks up the day. Instead of going straight into distance, you get a scenic interlude early on. It’s also an easy place to slow down, take photos, and get your legs used to the day’s effort.
Potential drawback: if you’re expecting a fully car-free, flat ride the whole way, remember that you’re still doing real cycling. This section is scenic, but it doesn’t replace the need to pace yourself.
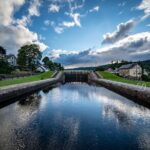
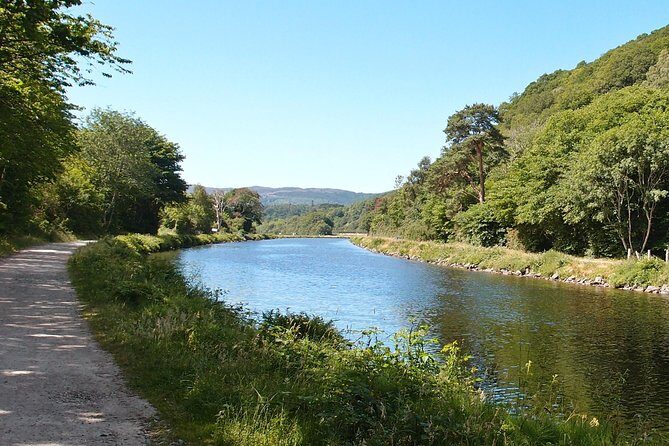
Caledonian Canal: the part for steady riders (and side-miles)
After Ness Islands, you reach the Caledonian Canal area (about 2 hours). The canal sits just off the route, and this is where the day gains “adventure miles.” If you’ve got the legs, you can add extra path time alongside the canal.
What makes this section valuable is the feel of continuity. The canal gives you a consistent visual line and a more relaxed ride rhythm than you get from stop-and-start traffic. Even if you’re not adding extra miles, the canal portion makes the ride feel like a proper journey rather than a quick out-and-back.
Possible consideration: canal-side routes can mean you’re exposed to wind and weather. The tour runs in all weather conditions, so dress for it. If the day is damp, plan for slower cycling and easier braking.
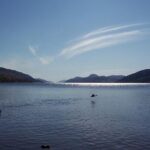
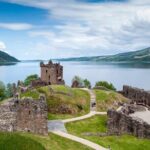
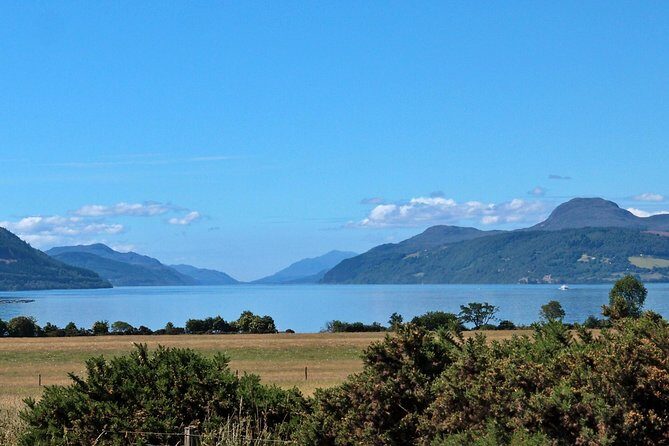
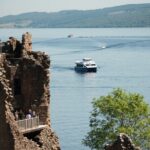
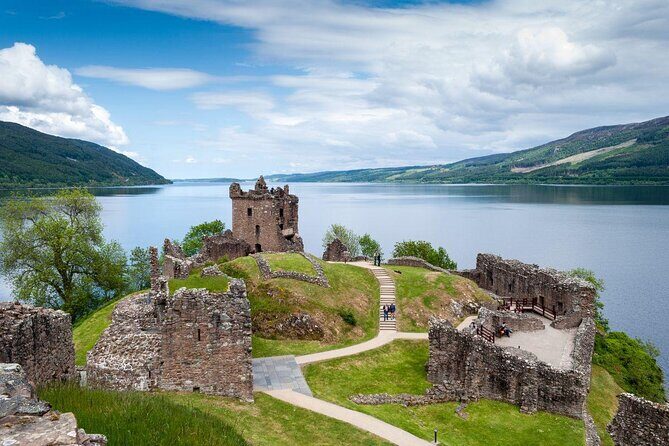
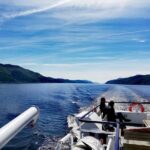
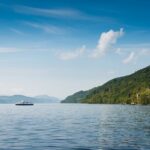
Loch Ness arrival: Route 78 into Dores
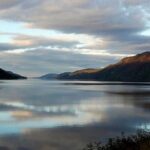
The route continues toward Loch Ness by following local cycle paths and then National Cycle Network Route 78, also called The Caledonia Way, from Inverness all the way to Dores on the Loch Ness shoreline. Expect about 1.5 hours for this segment.
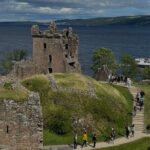
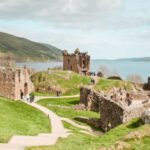
Once you’re in this final approach, it clicks: you’re no longer just riding toward a place. You’re riding alongside the water, with views that feel open and quiet. Loch Ness looks best when you slow down enough to let the shape of the lake register.
Here’s the part you should respect: the ride to Dores can include uphill. One rider advice that matches the physical reality of the route is to keep your pace and don’t treat it like a race. If you’re a beginner, start with low expectations for speed and high expectations for stops.
Dores break: food, picnic spots, and loch-side time

At Dores, you get a proper refuel window (about 2 hours). Options include:
- Dores Inn (it’s described as always busy),
- your packed lunch on the beach or at picnic spots farther down the loch-side.
This is where the self-guided style pays off. If you want to sit for 30 minutes and be done, you can. If you want to wander down the shore, you can do that too. Loch Ness isn’t just something you “arrive at.” You experience it by staying with it.
One small local detail worth knowing: there’s said to be an adorable coffee trailer across the street in Dores. So even if your lunch plan changes, you’re not stuck.
If you want to add extra miles, this is also a time to decide. Some people tack on side routes after checking the map and feeling how their legs are doing. For example, one rider combined the day with the Foyer waterfalls and ended up around 60 km total. That’s not required, but it shows what’s possible if you ask for options and you have energy.
Riding back to Inverness, with a towpath option
Your return is either back the same way or with a detour along part of the Caledonian Canal towpath. The scheduled return segment is about 1.5 hours.
This is a smart planning point. If you felt great on the way out, the towpath detour can add variety without making the day chaotic. If you’re tired, taking the direct return keeps the timing sensible and protects your energy.
Also, remember the mental reset of cycling back. Once you’ve had the loch-side break, the return feels shorter than you’d expect because you already did the hard visual work—seeing the lake. The last stage becomes more about steady pedaling and safe navigation.
Price and value: what you’re really paying for
The price is $76.39 per person for about a day of independent cycling. On paper, it sounds simple. In practice, the value comes from what’s included:
- bike hire,
- helmet,
- water bottle,
- map and directions,
- and the staff briefing to get you started confidently.
For a self-guided day, this is where costs can add up if you have to rent bikes, buy a helmet, and figure out routes on your own. Here, you start with the core essentials already handled. That’s especially useful if you’re visiting Inverness for the first time and don’t want to spend your morning learning logistics.
Balance note: a couple of experiences pointed out comfort issues with the bikes for some beginner riders. So if bike comfort is your top priority, ask the shop questions about fit before you set off, and be honest about your experience level.
Who this ride is best for
This tour fits you best if you:
- like self-paced travel where you stop for views instead of keeping up with a group,
- have at least moderate cycling confidence,
- want a day that’s mostly “scenery by motion,” not museum-by-museum.
The tour is also fine for weather, since it operates in all conditions. That said, it’s still outdoors. If your idea of a perfect day requires sunshine, you’ll want to dress like a realist.
Minimum age is 12, with children accompanied by an adult. The maximum group size is 4, which keeps the start calm and gives staff time to help.
Navigation and weather tips that actually help
Because this is self-guided, your map matters. One practical piece of advice is to actually use the map while you ride and double-check turns as you go, especially on the return when you might be tired and less patient with small route changes.
Weather-wise, plan for the fact that you’re on paths and water-adjacent areas. That usually means wind. It also usually means damp patches. Dress appropriately for all-weather operation, and don’t assume you’ll just “power through” in jeans and light layers.
If you’re new to cycling in the UK, it’s reassuring that Inverness is described as having nice dedicated and protected bike paths and that drivers were courteous. Still, keep a defensive posture. Even with good infrastructure, roads can have different levels of traffic and speed.
Should you book Cycle To Loch Ness?
I think you should book this if you want a low-stress way to reach Loch Ness without committing to a full guided day. The combination of bike hire, navigation support, and the route structure (Ness Islands → Caledonian Canal → Route 78 to Dores) makes it an efficient way to see a lot of Scotland in one day.
Skip it or reconsider if:
- you’re a very new rider and the idea of uphill on the way there makes you anxious,
- you’re hoping for a fully gentle, flat, no-effort ride,
- you need a guide riding with you for every turn and decision.
If you do book, go in with the right mindset: this is about pacing, views, and loch-side time. Treat it like a day of exploration, not a workout you must finish fast. You’ll enjoy it more.
FAQ
How long does the Cycle To Loch Ness self-guided tour take?
It’s listed as approximately 1 day, with different ride and stop times along the route (around 30 minutes for bike hire, then multiple blocks for Ness Islands, the canal, Loch Ness, a Dores break, and the return).
Is this tour guided?
No. It’s self-guided. You’ll get a briefing at the bike hire stop and then follow the map and directions independently.
What’s included in the price?
Included are bike hire, a helmet, and a water bottle. You also receive a map and directions.
What’s the minimum age to join?
The minimum age is 12, and children must be accompanied by an adult.
What fitness level do I need?
The tour asks for a moderate physical fitness level.
Where does the tour start and end?
It starts at Ticket To Ride The Pavilion, Bellfield Park, Inverness IV2 4SZ, UK, and ends back at the meeting point.
Does it run in bad weather?
Yes. It operates in all weather conditions, so you should dress appropriately.